
For the safety of our customers and our employees, all team members are wearing required PPE such as gloves, masks, and booties. Our HVAC technicians are sanitizing before and after appointments. We are also able to limit customer contact, if desired.
A FAVORITE ACROSS COLUMBUS
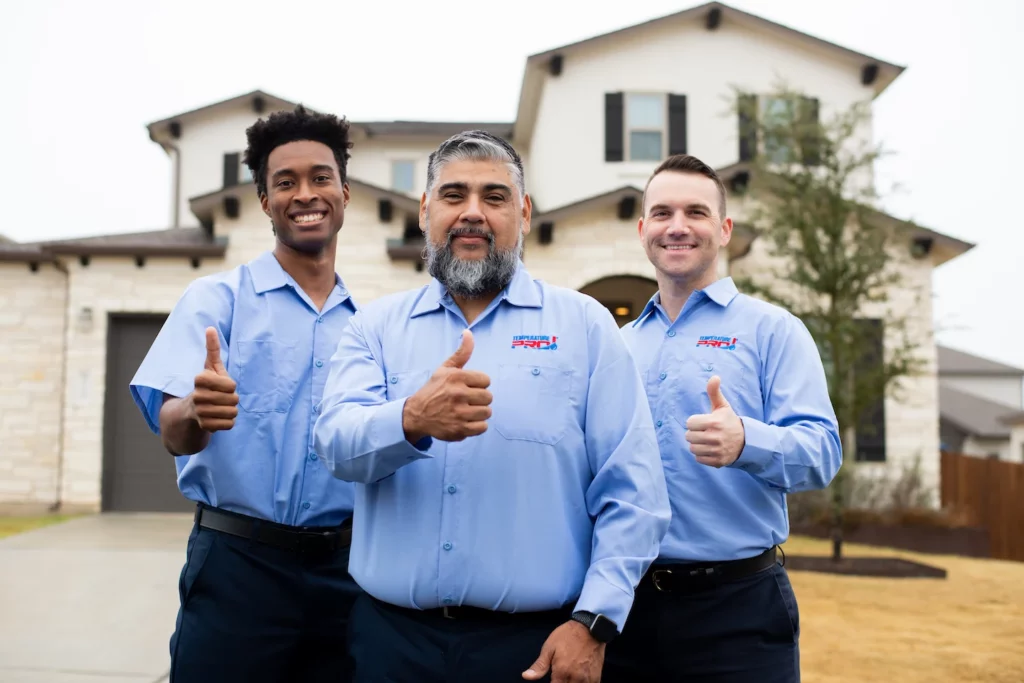
Friendly, professional HVAC services
When it comes to heating and air conditioning services, TemperaturePro is at the top of the list for Columbus residents and business owners. We’re experts in HVAC maintenance, installation, and repair and consistently deliver the friendliest and most affordable services in town. You can always count on us to to deliver quality results and on-time service.
Whether it’s hot and sunny or cold and snowy, the TemperaturePro team will keep you comfortable all year long.
Contact us today!
For the safety of our customers and our employees, all team members are wearing required PPE such as gloves, masks, and booties. Our HVAC technicians are sanitizing before and after appointments. We are also able to limit customer contact, if desired.
TemperaturePro holds the top spot for superior HVAC services in Columbus, OH
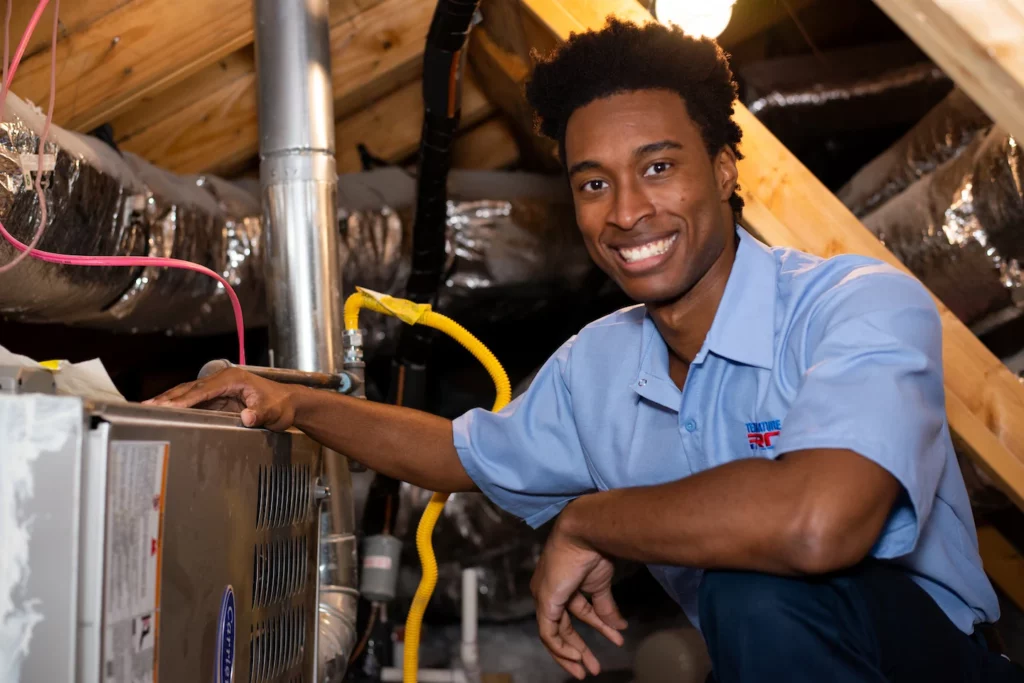
At TemperaturePro, we strive to provide the highest quality customer service for all HVAC-related needs in the Columbus metro area.
We offer HVAC installation, repair, and maintenance for residential and commercial properties. Our company is licensed, certified, and insured, so you can feel confident in us to take care of all your heating and cooling needs.
All of our technicians are experienced, background checked, and drug-tested, ensuring your home or office is always in the best hands. Above all, our team is friendly, so your HVAC experience will always be a high quality, positive one!
We pride ourselves on stellar customer satisfaction, so honesty and transparency are at the forefront of everything we do at TemperaturePro Columbus. You’ll never come across any hidden fees or be surprised by costs. We’re upfront about everything from the beginning.
-
AC Repair & Heating Repair for All Makes and Models
-
Expert AC & Heating Installation
-
No Hidden Fees
-
Total Comfort Maintenance Plans
-
Same Day Service
-
Free Second Opinions
Heating
Midwest winters are no joke, which is why we’re dedicated to keeping you warm all winter long and for any surprisingly chilly days throughout the rest of the year. TemperaturePro can take care of any heating repairs, installations, and general maintenance, so you can stay warm and toasty no matter how chilly it is outside.
Commercial
Commercial HVAC systems are a slightly bigger beast and require a more seasoned technician with the proper expertise. The TemperaturePro team has lots of experience with the robust installation, repair, and servicing needs of commercial equipment, so we’re always happy to help no matter the size of your system.
Maintain Your Comfort All Year Long
Struggling with an inefficient or completely broken air conditioning system? You can count on TemperaturePro Columbus to mend any related issues. Our number one priority is providing our local community and neighbors with fast, friendly HVAC services.
We provide the following services to our Columbus community:
- Residential AC Install
- Residential AC Maintenance & Repair
- Residential Heating & Furnace Install
- Duct Cleaning, Insulation & Sealing
- Duct Installation & Repair
- AC Inspection
- Heating Inspection
- AC Installation
- Heating Installation
- AC Repair & Service
- Heating Repair & Service
- Heat Pump Installation & Repair
- Indoor Air Quality

Why We're the Customer Favorite of Columbus


The Friendliest HVAC Service in Franklin County
")
Our core values at TemperaturePro revolve around honesty, transparency, and outstanding customer service. We always have your optimal comfort in mind and want to earn your trust from the very beginning. We’d much rather do everything we can to fix your system before trying to sell you a new one if you don’t need it.
Complete transparency with our processes and pricing also helps foster a trusting relationship, so we can be your go-to call when you need heating and cooling services. Our technicians are happy to explain exactly what needs to be repaired and why while making sure you know the costs up front.
Our team keeps up their knowledge and dependability by participating in in-house trainings that ensure we’re all on up-to-date on the newest techniques and industry standards. We pride ourselves on being dependable and knowledgeable, and we want to prove it to you!


The Reviews Are In
“Wow! What a great company with top notch customer service! I own my own business and came to work this morning with the AC not working. I called Temperature Pro Columbus at 8am and they managed to get someone to me within a very short period of time. Carlos was very nice and explained everything to me. I am beyond thankful for this company. I will never use another HVAC company besides Temperature Pro Columbus again. Thank you so much!!”

“They were extremely easy to work with and fair and reasonable with pricing. I had a new AC system installed by Temperature Pro Columbus and the installer technician, Carlos Mejia, was very thorough and professional. He did a great job on the installation and went above and beyond to make sure everything was working properly before he left. He also cleaned up any mess that was made and took out old AC with him when he left. Our new AC works Like a dream!”
“Overall great experience with TemperaturePro Columbus! Spoke with the owner to schedule the appointment and it was convenient and easy to do. She was so helpful and friendly as we were discussing the issue with my thermostat. Carlos came over to diagnose and repair the issue and he was extremely thorough, patient, knowledgeable and friendly. It was so nice that everything went so smoothly. I highly recommend them!!!”
Honest
Honesty matters to us, and that’s what sets us apart. We’ll make sure you always get exactly what you need whether it’s a product or a service.
Certified
We value quality workmanship and highlight that all of our HVAC technicians are NATE certified. Our regular trainings ensure everyone is on the same page and confident in all the industry happenings.
Available
HVAC repair needs don’t always happen at convenient times, so we try to make it a little easier by being prompt, efficient, and available when you need us. Clear, consistent communication is what makes our service great because you’ll always know what’s going on.
RATED ONE OF THE TOP FRANCHISES OF 2020
TemperaturePro Columbus® is a growing professional air conditioning and heating service company already located in many communities throughout the United States. While each location is independently owned and operated, customers still get the benefits of a nationally recognized brand name. Each TemperaturePro Columbus® location has the goal to be the best at what they do and offers the highest quality customer service at affordable prices.


Thousands of ACs Repaired in Columbus
Let us be your favorite local HVAC service provider, and you won’t regret it. The next time you heating or cooling system stops working or needs a quick tune-up, call the experts at TemperaturePro Columbus to take care of you.
Drop us a line anytime, and we’ll connect you with one of our experienced technicians. We’ll get your system running smoothly again in no time and for an unbeatable price.
Once our team members arrive at your home or office, they’ll work quickly to locate and diagnose the problem. We always try to strike the perfect balance with thoroughness and efficiency, leaving you feeling as comfortable as possible.
The Most Reliable HVAC Installation in Columbus
We know how daunting it can be trying to analyze your options for heating and cooling systems, so we’re happy to help answer any questions you may have during the process. We’ll work with you to find best solution for your space and needs and make sure your family and colleagues are comfortable in their environment.
TemperaturePro installs central air, mini splits, heat pumps, and more meaning you have options when it comes to heating and cooling your environment.
Check out our reviews, and learn how we’ve already helped hundreds of homeowners and businesses in Columbus with their new system installations. Give us a call or fill out a form to request a free, no obligation estimate or consultation. Don’t forgot to ask us about financing!
TemperaturePro Blog
Money saving tips, general heating and cooling education, and more!
What do UV Air Purifiers Do In Your Home?
Indoor air quality is a significant concern for many homeowners, especially for those who suffer from allergies or asthma. While air purifiers can help reduce airborne contaminants such as pollen, dust, and pet dander, UV air purifiers offer a unique way to improve the air quality in your home. In this blog post, we will…Read More
How Often Should You Be Cleaning Your Air Vents in Your Home?
Air vents play a crucial role in maintaining the air quality of your home. They help circulate fresh air throughout your living space while removing stale air, dust, and other pollutants. However, over time, these air vents can become clogged with dirt and debris, reducing their effectiveness and contributing to poor indoor air quality. In…Read More

5 Tips For Improved Indoor Air Quality
Indoor air quality is a critical factor in maintaining a healthy and comfortable home. Poor air quality can lead to various health issues such as allergies, respiratory problems, and even long-term health effects. In this blog post, we will discuss 5 tips for better indoor air quality that can help you create a safer and…Read More
Service Areas
