
Experiencing a malfunctioning air conditioner can be frustrating, especially during the hot summer months. But don’t worry! This guide will walk you through the steps you should take when your air conditioner stops working, ensuring you can cool down as quickly as possible.

Step 1: Check the Power Supply
Start by making sure your air conditioner is plugged in and receiving power. Check the thermostat settings and ensure it’s set to ‘cool’ mode. Sometimes, a tripped circuit breaker can be the culprit, so don’t forget to check your home’s electrical panel.
If everything seems fine with the initial checks, it’s wise to verify that there are no blown fuses as well. The fuses play a crucial role in the power supply of your air conditioner. A quick inspection can save you time and frustration.
Additionally, inspect your power cables for any signs of wear or damage. Frayed cords or loose connections could be the reason why your air conditioner isn’t turning on. Safety first, so be cautious while looking for electrical issues.
In some cases, the issue might be more complex, such as an electrical fault within the air conditioner itself. If you’re uncomfortable dealing with electrical components, seeking help from a qualified technician is a smart move.
Step 2: Replace or Clean the Air Filter
A dirty air filter can restrict airflow and cause your system to fail. Check your filter and replace or clean it if necessary. This simple step can often resolve cooling issues and improve efficiency.
Regular maintenance of your filter is crucial, as it helps maintain clear airflow through your air conditioner. Depending on usage, it’s generally a good idea to check your filter every month during peak cooling season.
If you live in a dusty area or have pets, you may find that your filter gets dirty faster. In such cases, even cleaning may not be enough, and you might contemplate replacing it more frequently to ensure optimal air quality and device performance.
Remember to consult your air conditioner’s manual for specific guidelines about your filter type and maintenance schedule. This will ensure your system runs smoothly and efficiently.
Step 3: Inspect the Outdoor Unit
Take a look at the outdoor condenser unit. Make sure it’s free from debris like leaves, dirt, and twigs. Clear any obstructions to ensure proper airflow and cooling capabilities.
An overlooked outdoor unit can greatly affect performance. Make sure that there are at least two feet of clearance around your condenser, allowing it to breathe properly. Proper ventilation is key to maintaining efficiency.
Sometimes small animals can take up residence nearby, causing blockages. If you notice any signs of nests or tampering, carefully remove them, but be aware of any wildlife that could be nesting there.
Additionally, inspect the fins of your outdoor unit. They can become bent or damaged, reducing efficiency. If necessary, gently straighten them with a fin comb, available at most hardware stores.
Step 4: Listen for Unusual Noises
If your air conditioner is making strange sounds, it might indicate a mechanical issue. Pay attention to any banging, clanking, or buzzing noises, and consider contacting a technician if you notice anything unusual.
Different sounds can signal different problems. For instance, a high-pitched whining noise could suggest a need for lubrication on a motor part, while rattling may indicate loose parts. Identifying these sounds early can prevent further damage.
Don’t ignore hissing sounds either, as they may point to a refrigerant leak, which can not only harm your air conditioner but also affect your home’s air quality. Always address such symptoms promptly to halt escalation.
In some cases, your air conditioner may simply be working harder than usual due to a clogged filter or dirty coils, but it’s always best to pay attention and not dismiss unexpected noises.
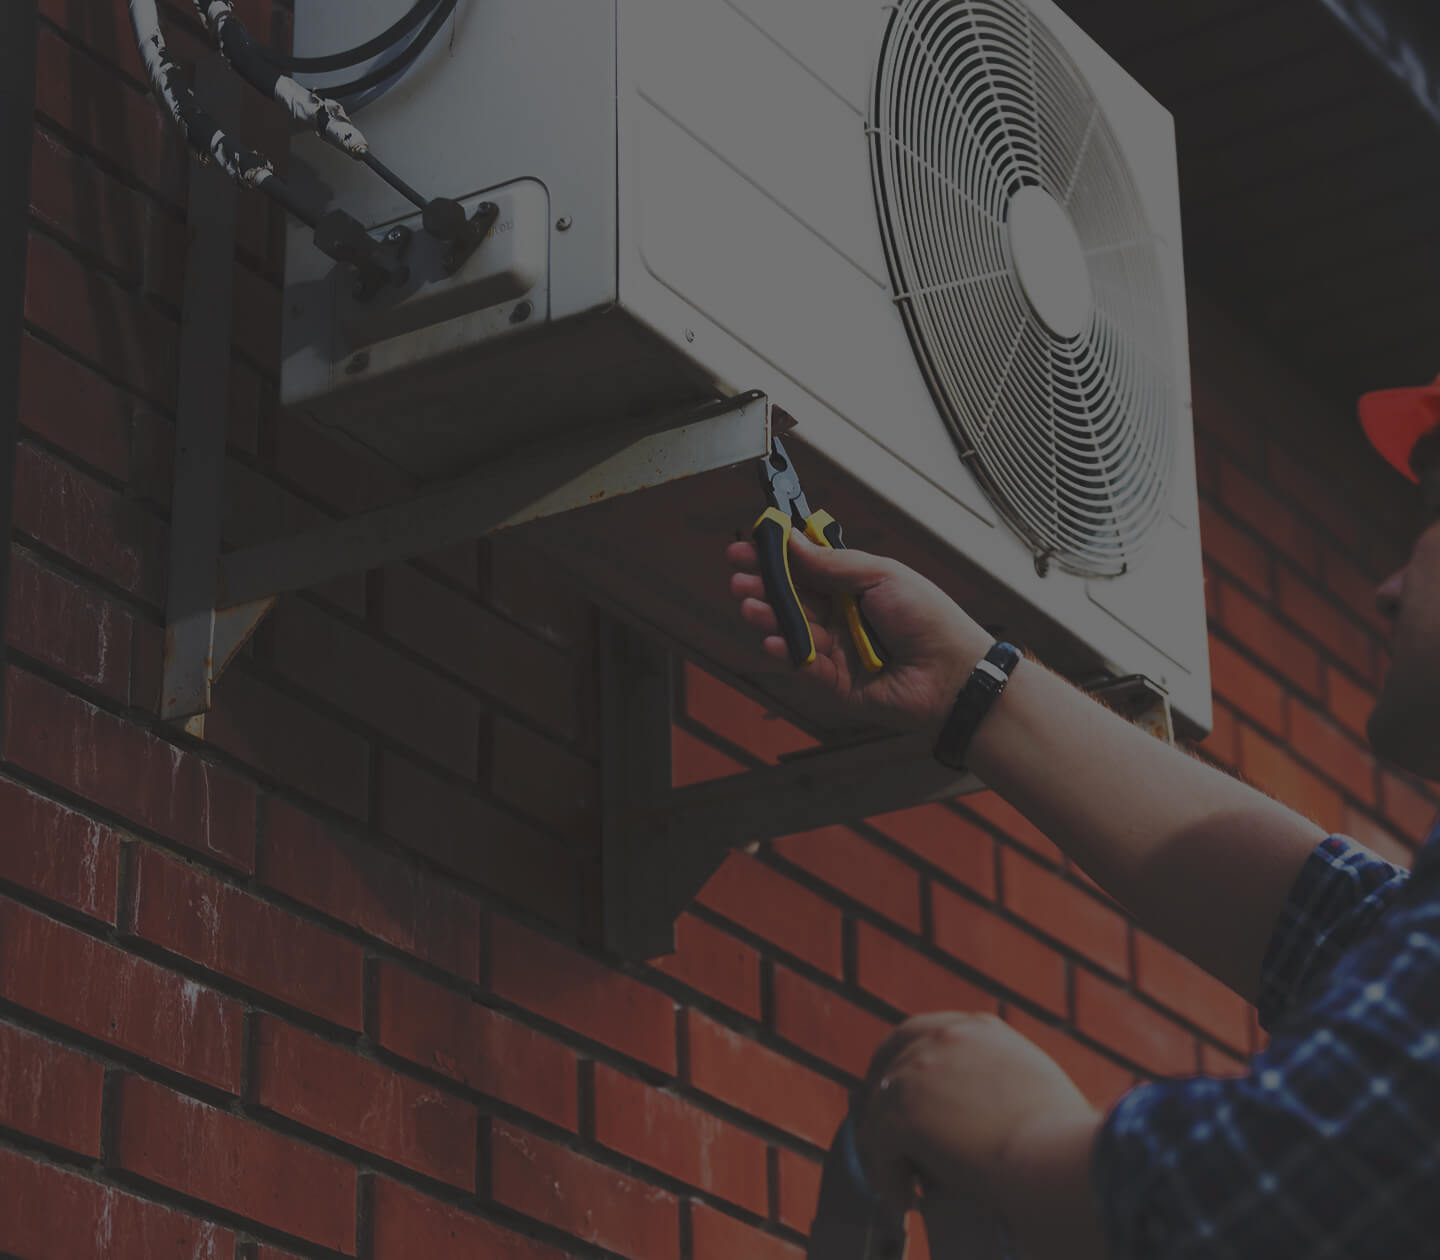
Step 5: Call a Professional
If you’ve gone through all these steps and your air conditioner is still not working, it’s time to call in a professional technician. They have the expertise to diagnose and fix any underlying issues safely.
Keep in mind, regular maintenance from a pro can extend the life of your unit and prevent future breakdowns. An annual inspection is generally recommended to catch potential problems before they turn into costly repairs.
When choosing a technician, look for one with good reviews and proper certifications. Always ask about their experience with your specific brand and model for the best results.
Ultimately, recognizing when a problem exceeds DIY repair is crucial. A professional will ensure that repairs are carried out safely and effectively, giving you peace of mind as you enjoy a comfortably cool home again.
Wrapping Up
By following these steps, you’ll be able to troubleshoot common air conditioner issues effectively. If problems persist, please call a professional for help. Stay cool!